TriniTuner.com | Latest Event:
Moderator: 3ne2nr Mods

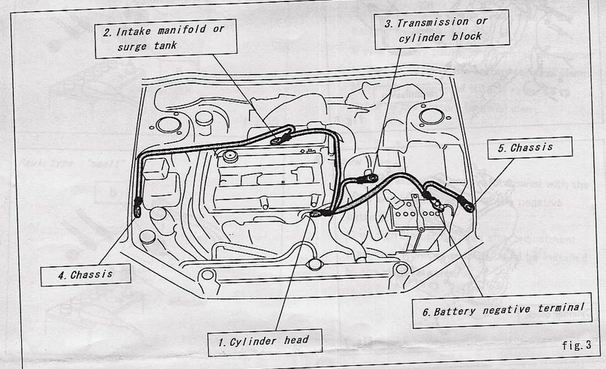
tinytim wrote:Here's a useful diagram I found that outlines major grounding points. I think the only one this seems to be missing is the alternator ground. Add that one in and you should be good to go.


slick wrote:I notice my car does accelerate slower when I have the AC on.
Anybody know if doing this extra grounding would make my acceleration faster or the same as if I had the AC off?

tinytim wrote:Here's a useful diagram I found that outlines major grounding points. I think the only one this seems to be missing is the alternator ground. Add that one in and you should be good to go.

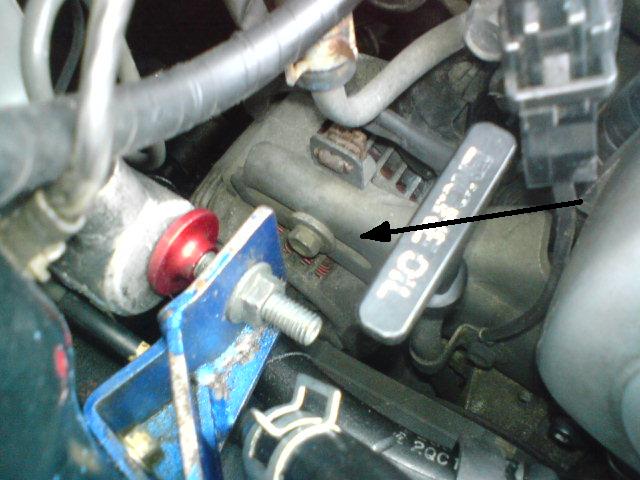
attached the ground to where the alternator bolts to the top bracket
Users browsing this forum: Google Adsense [Bot] and 9 guests