Hello again.
This car has seen a variety of installs over the years but this is intended to be the final one.
Basic goals of all the systems installed were to utilize the stock charging system without any upgrades (Big 3 included) and this one build is no exception.
This is not a SQ build. No thought was put toward imaging, stage depth etc. The only focus with regards to this would have been achieving proper tonality.
The equipment list is as follows:
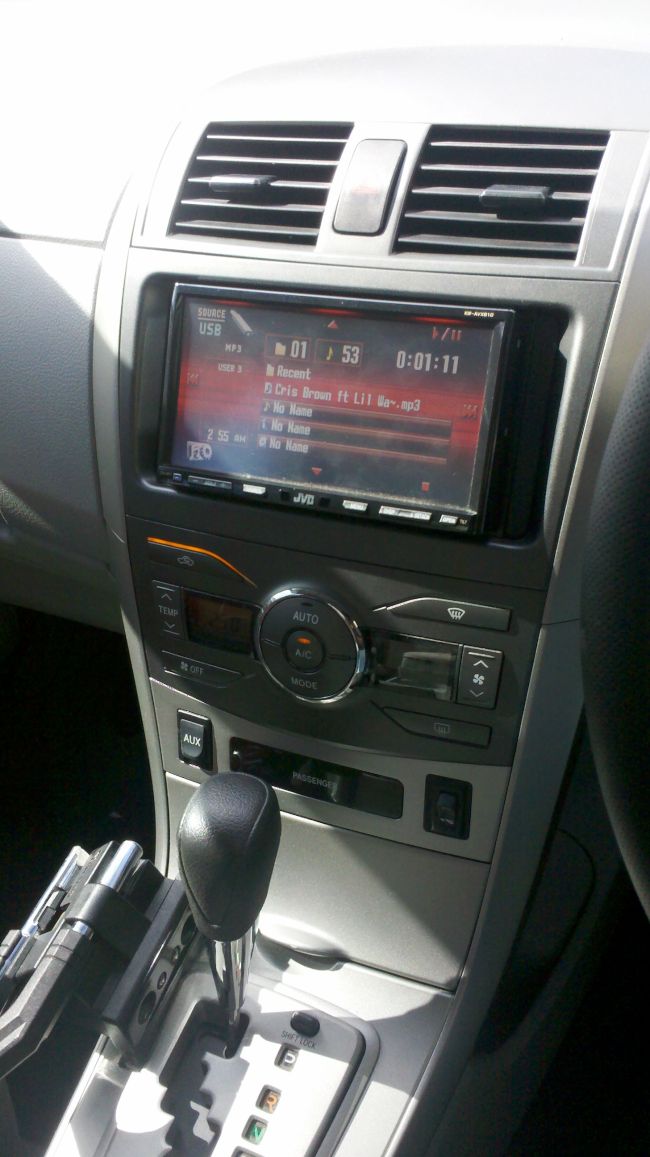
Headunit – JVC KW-AVX810 (replacing the Clarion that was there previously)
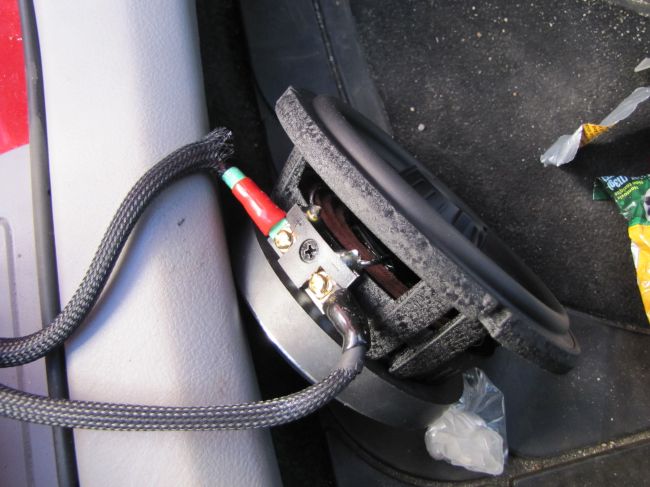
Front Stage – JBL 608gti mkii (replacing the JBL P660c)
Rearfill – JBL T696 (replacing the JBL GTO 938)
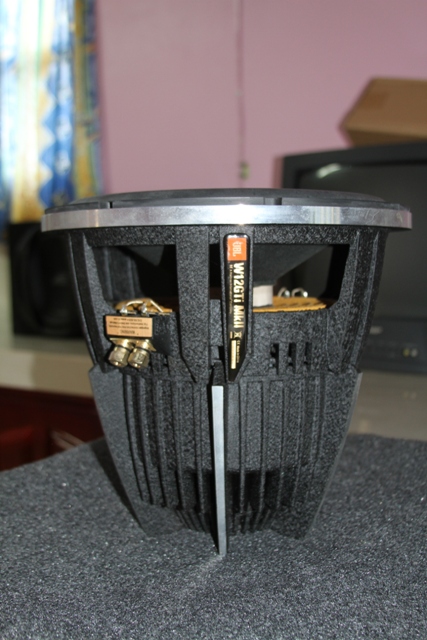
Substage – JBL w12gti mkii (replacing a pair of Elemental Designs 13ov2)
Amps – JL Audio HD 600.4 and 750.1 (Replacing a long string of amps, but most recently, RF T600.4)
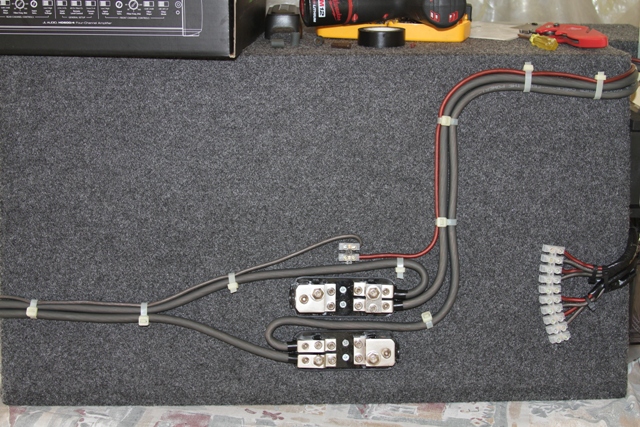
Wiring is Shok 0awg Competition Series (Replacing Shok 4awg Reference) and Shok Industries 12awg reference.
Distribution blocks – Shok Industries
Sound Deadening – Damplifier Pro , Overkill and Dynamat.
The final install is as follows:
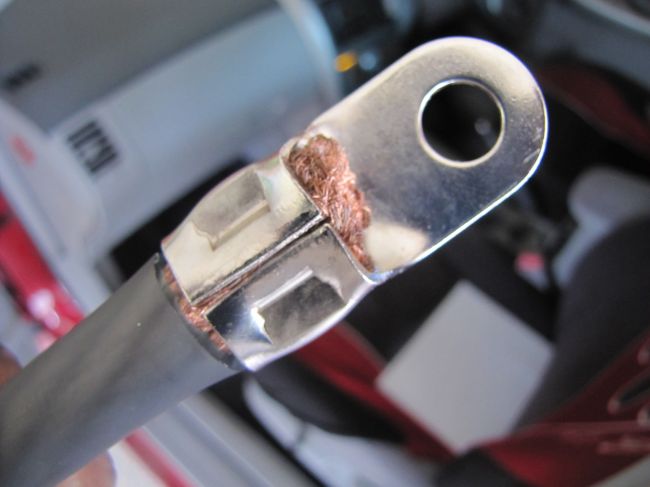
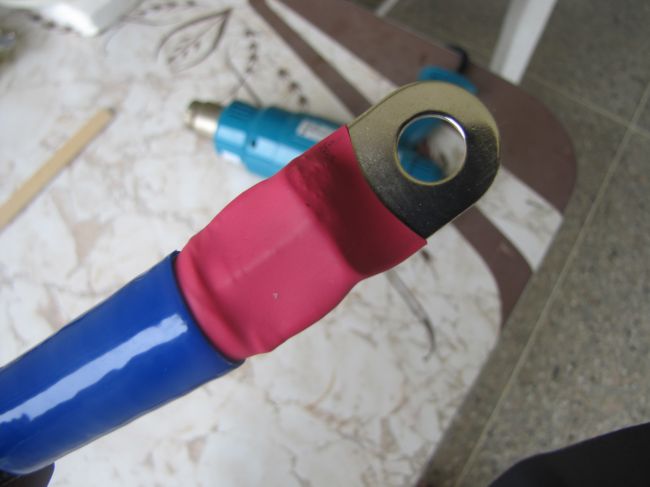
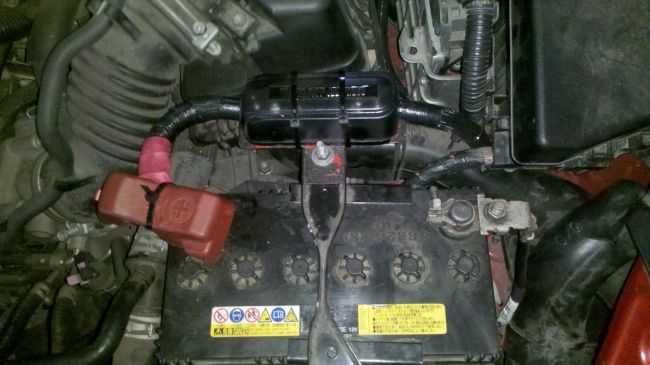
Under the hood we have the main fuse block and positive connector. Crimped, techflexed and heatshrunk.
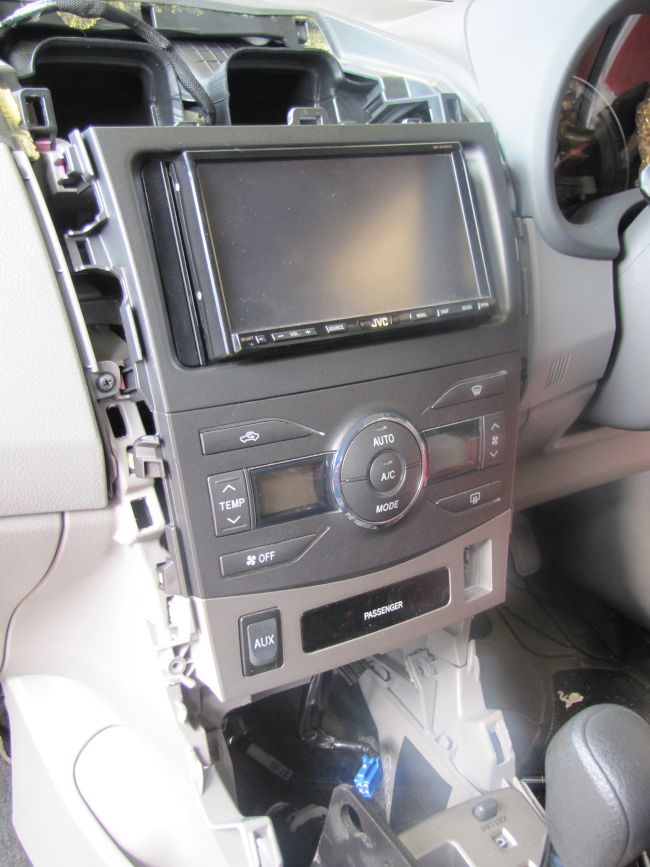
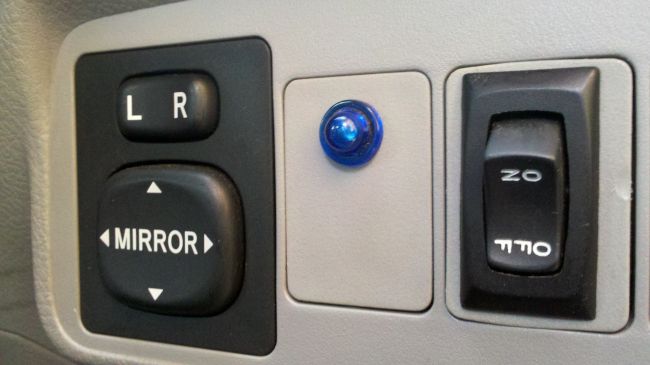
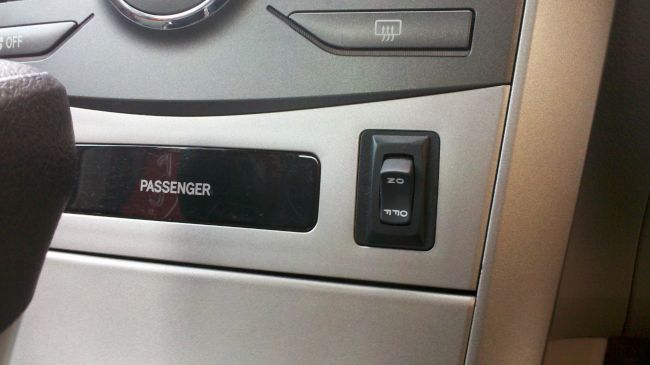
The headunit was installed in the dash and two switches were installed. One to control the video turn on and the other to control the remote turn on for both amps.
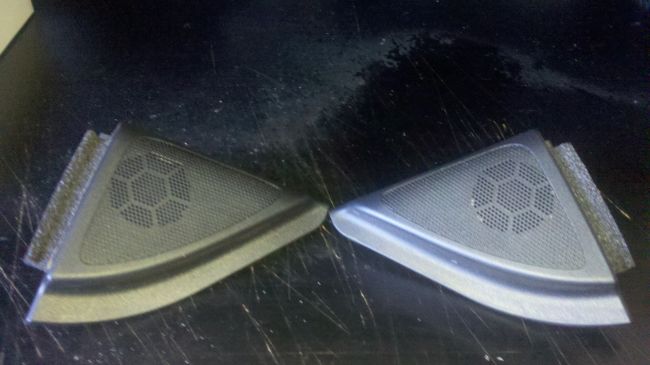
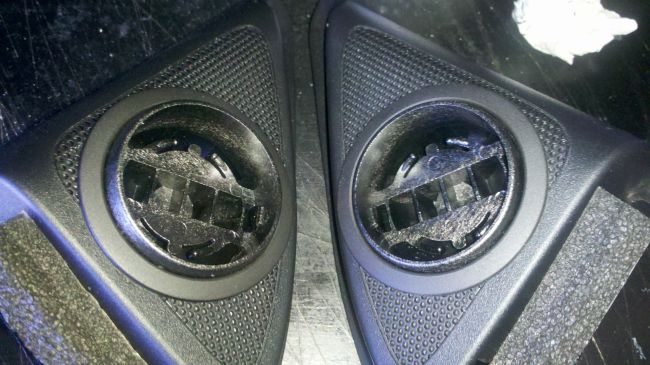
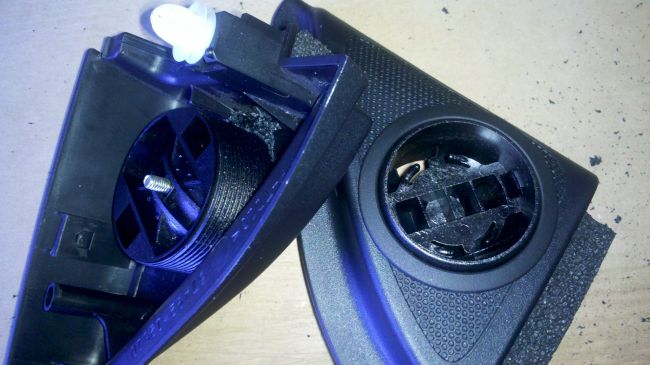
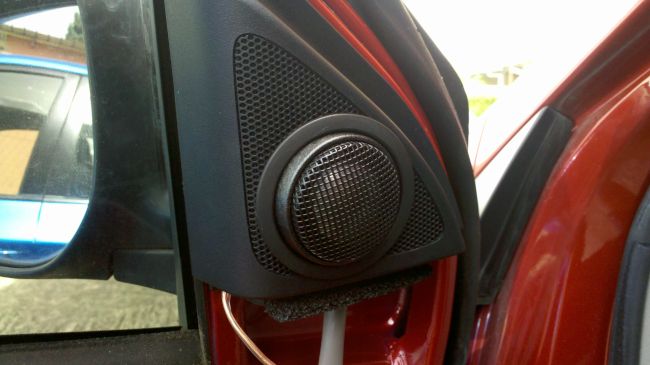
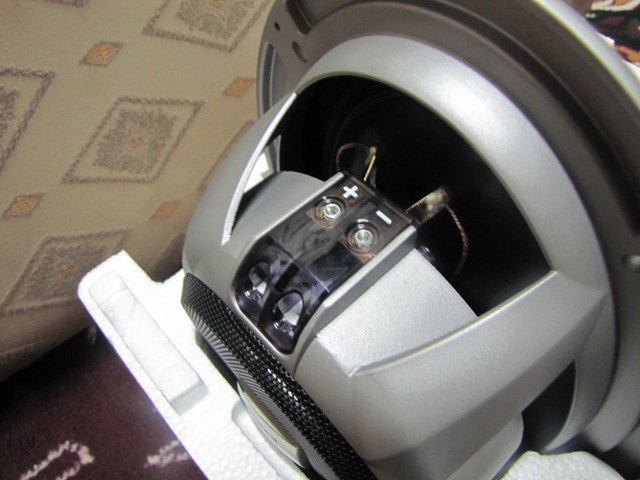
Tweeters were mounted in the sail panels. This is because they would have stuck out like a sore thumb in the A pillar (color wise), and the sail panel has sufficient room to house the mounting hardware and tweeter comfortably.
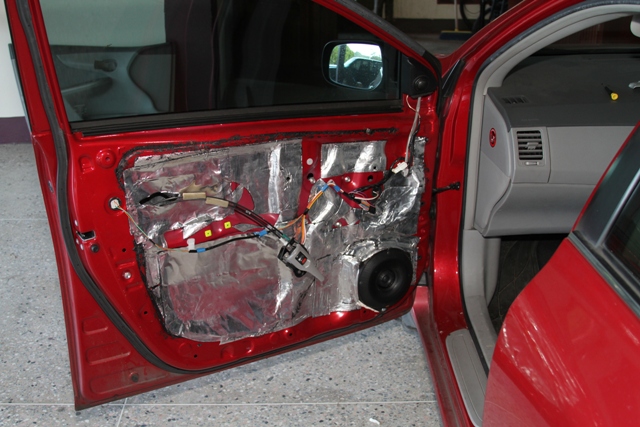
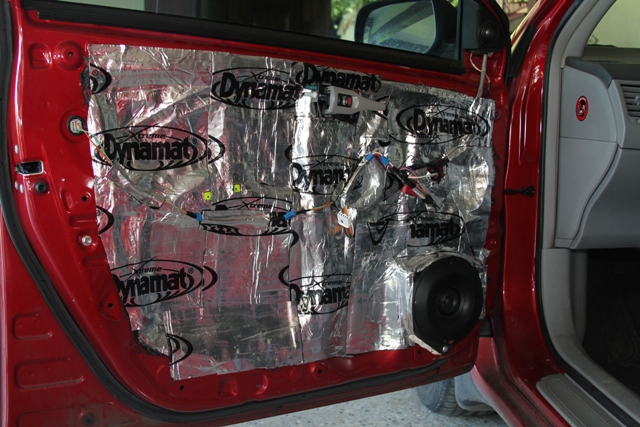
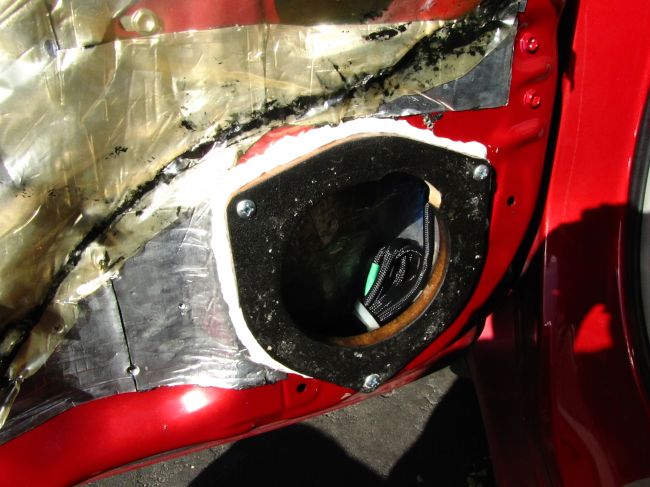
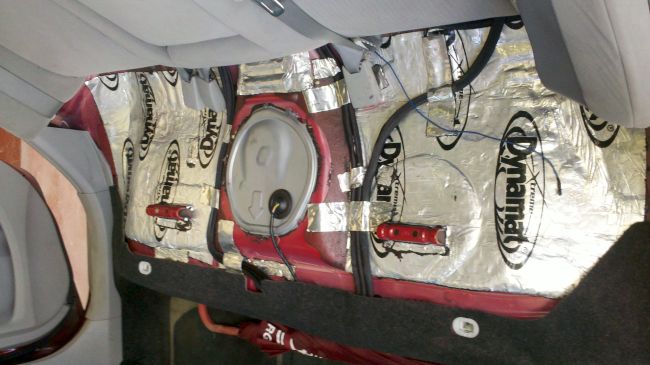
The doors were deadened firstly with the Damplifier Pro then the Dynamat was added as an extra layer just for insurance.
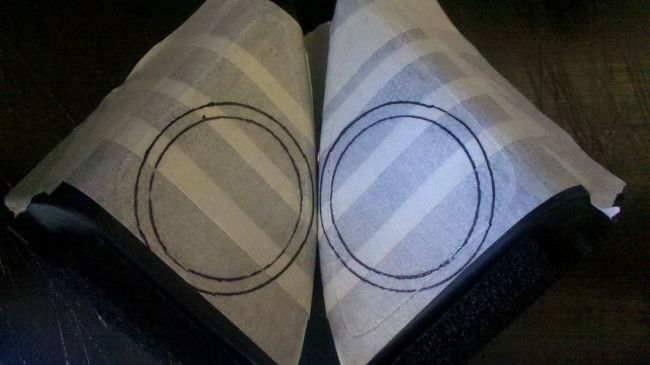
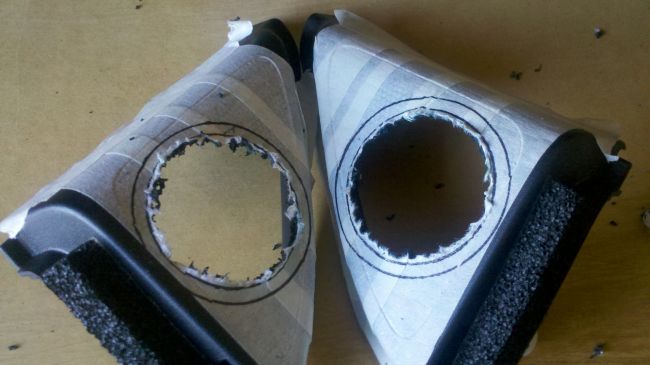
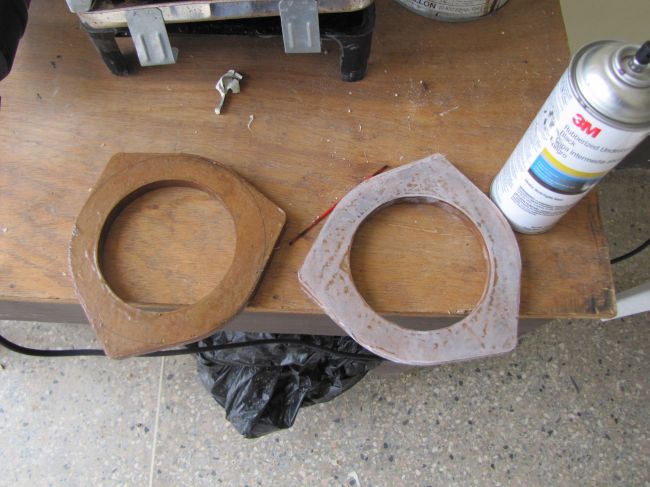
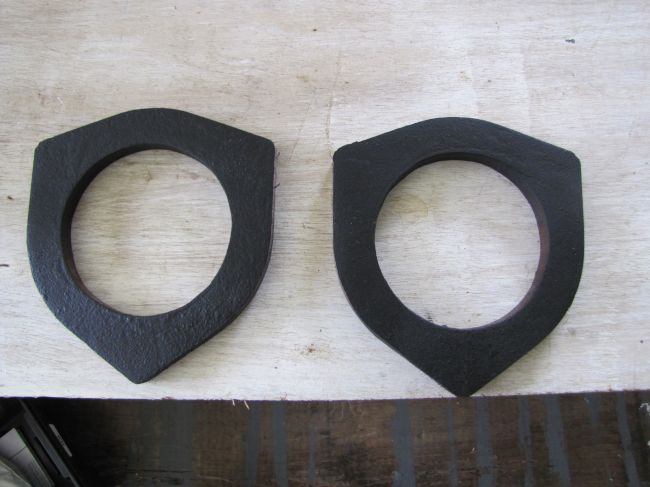
Rings were cut in the same shape as the factory plastic ones, treated with resin and rubberized coating to become water resistant. The speakers were then mounted to these and deadened.
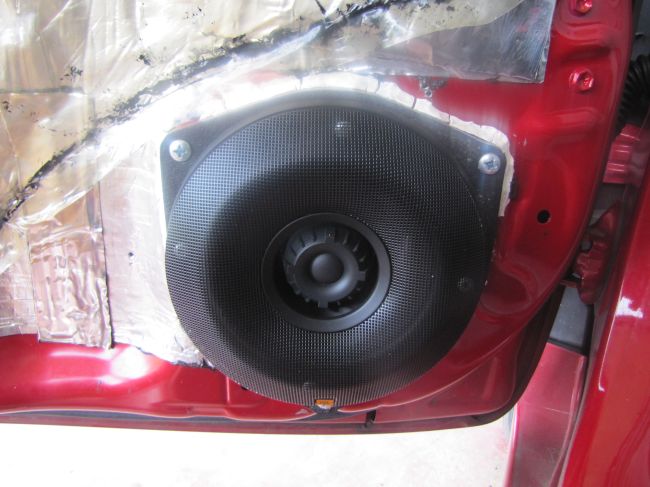
The door cards were also treated using deadening on the flat surfaces to tame any resonances.

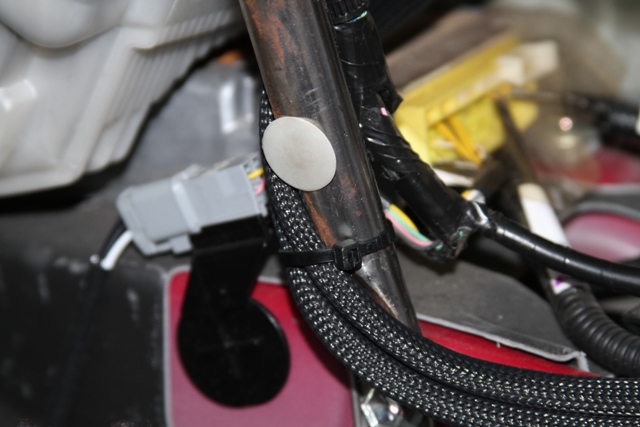
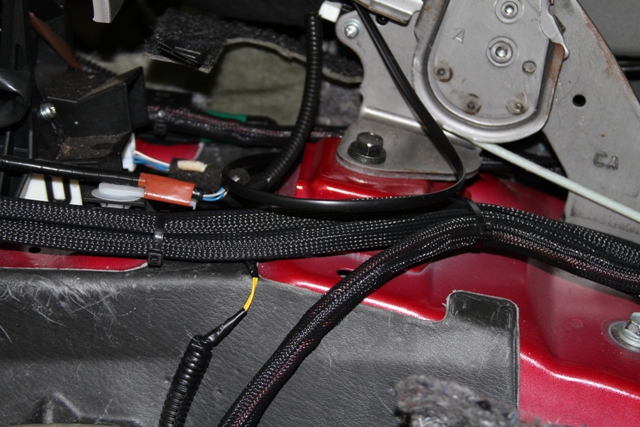
Wiring from front to back was techflexed and secured approximately every 8”
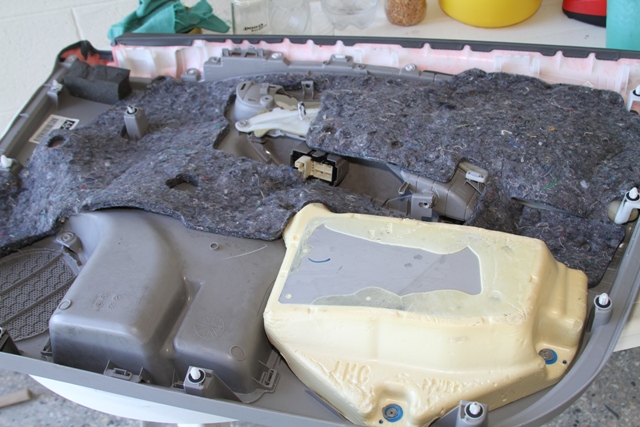
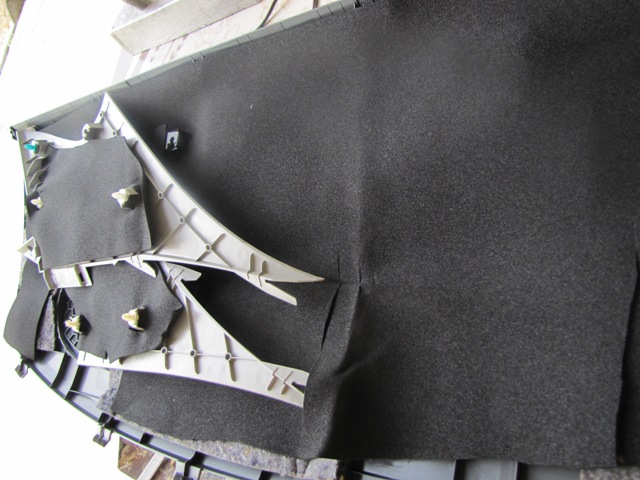
The back dash was treated using the overkill to prevent rattles (not its intended function but hey….) and the rear fill installed. These are run off the headunit alone.

Now here is where it gets really interesting. Some of you may like it while others may not. That’s ok. Just leave your comments and I’ll try to explain what was in my head at the time.
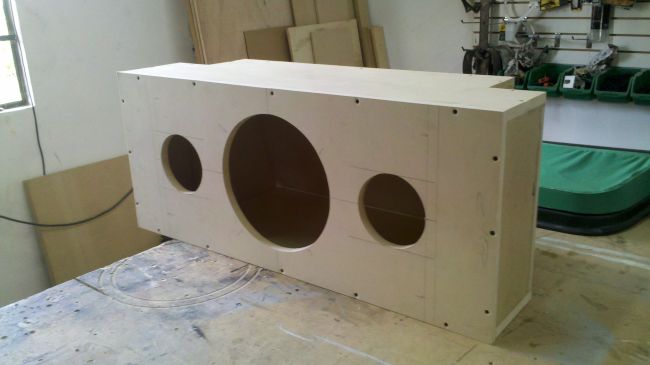
After trying the standard backseat amprack and box I was not satisfied.
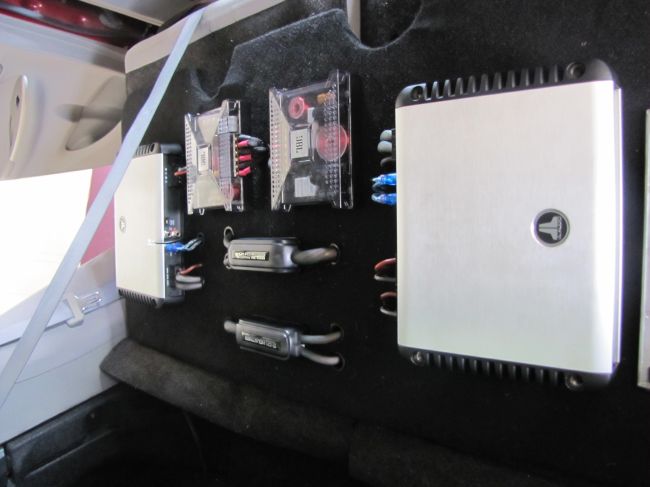
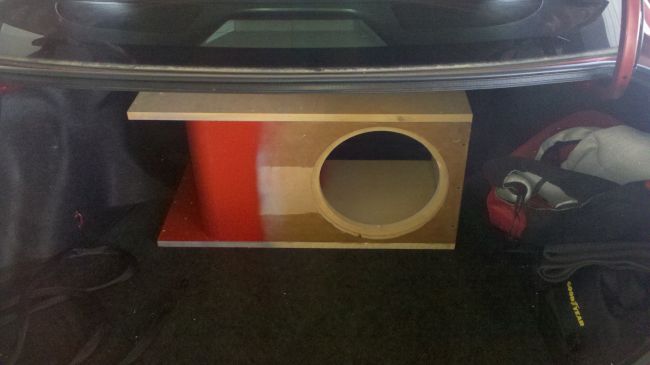
So I came up with this:
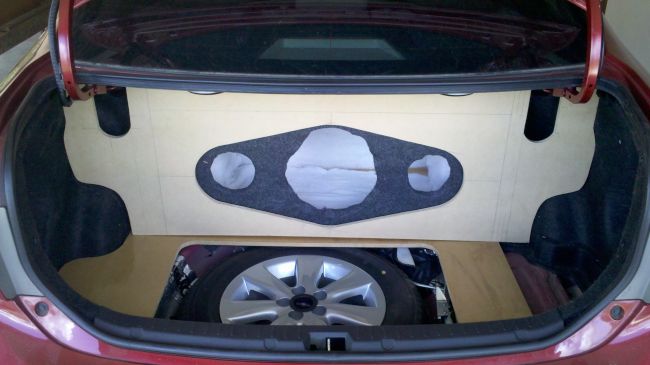

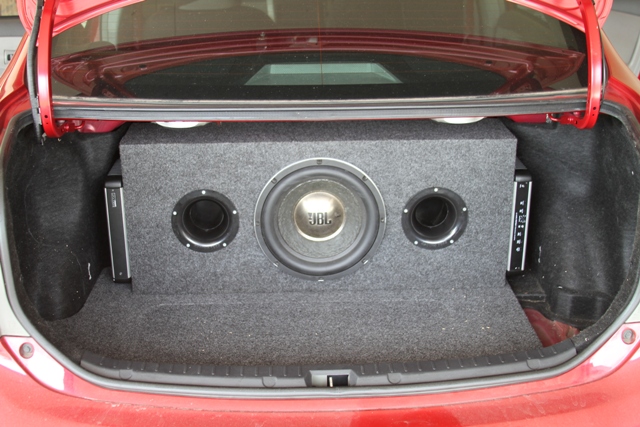
This just needed to be included……….
So that brings us to today and everybody is caught up.
*edit*
Trim carpeted and installed.
Many Many thanks to TheWiseOne. Could not have been possible without all his help/advice/workspace during this build.


